|
Welcome to SC Stucco & Plastering!
We're glad you're here and hope that we can be of service to our neighbors. The outside of your home says a lot about a home but more importantly, what it says about the home owner. Customization, personalization rather than generalization is going to set you apart from the rest of the block. Perfection is what us here at SC Stucco and plastering take pride in our work everyday, everywhere, every time. Selecting your custom stucco finish is easier than you think. We here at Solano County stucco and plastering has been in the business now for over 10 years and counting and couldn't be happier to serve not only our friends, family and neighbors homes but can assist with a wide variety of commercial businesses in the Solano County area as well. Vallejo, California is the main city we service and can also make a trip out to the surrounding cities as well. See our locations page for more details.
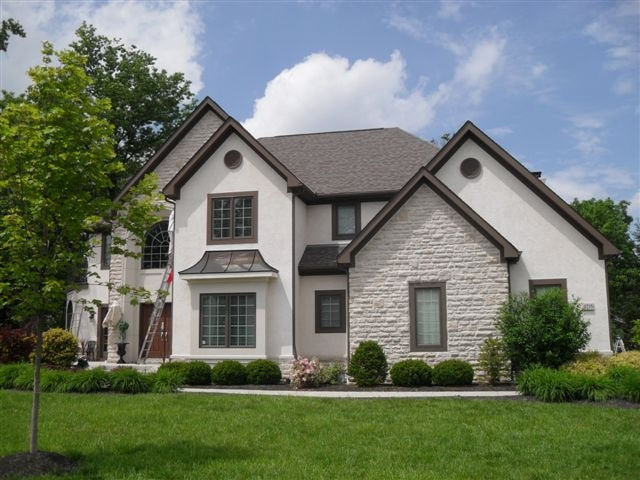
Stucco is popular for many reasons, including its low cost, earthquake resistance, and breathability in humid climates. This article covers exterior stucco applications over a wooden or steel framework, or over a solid wall. This project is fairly advanced, but within the range of an experienced home handy worker. HOW TO INSTALL STUCCO QUICK TIP Before you stucco a house, work on the back and sides before the front. This gives you a chance to improve your technique before working on the walls that are most visible from the street. When applying stucco over a stud wall: 1. Always check the weather. The ideal weather when applying stucco is between 50-60 degrees Fahrenheit. Low winds as well as overcast to not allow the sun to dry out the stucco too quickly. Delay the job if the temperature drops below 40 or rises above 90 degrees. Store your stucco and sand under tarp in between uses if the weather is sunny. If the sand is warm to the touch, do not attempt to use it as this will not adhere to the surface properly. 3. Cover the plywood with building paper and come back over that with a dimple screen or other rain screen. You may also use a draining house wrap such as Tyvek drainwrap. Most building codes require at least 2 layers of "Grade D" building paper or an equivalent water-resistant barrier. You may also use 15 lb per 100 square foot roofing felt (6.8 kg per 9.3 square meters) or some types of housewrap, but do not use a plastic housewrap not intended for stucco. Overlap the paper by atlease 4 inches and fasten with roofing nails. Start at the bottom and overlap the paper or felt as you work your way up.While not required by most codes, an air gap between the 2 layers is highly recommended to prevent wall rot. A 3D plastic drainage mat between the 2 barriers is one way to accomplish this. 4. Install weep screeds and casing bead. Install casing bead as a plaster stop at the corners of doors and windows. Install weep screed at the base of the wall for better drainage. These 2 materials are not interchangeable for this project. 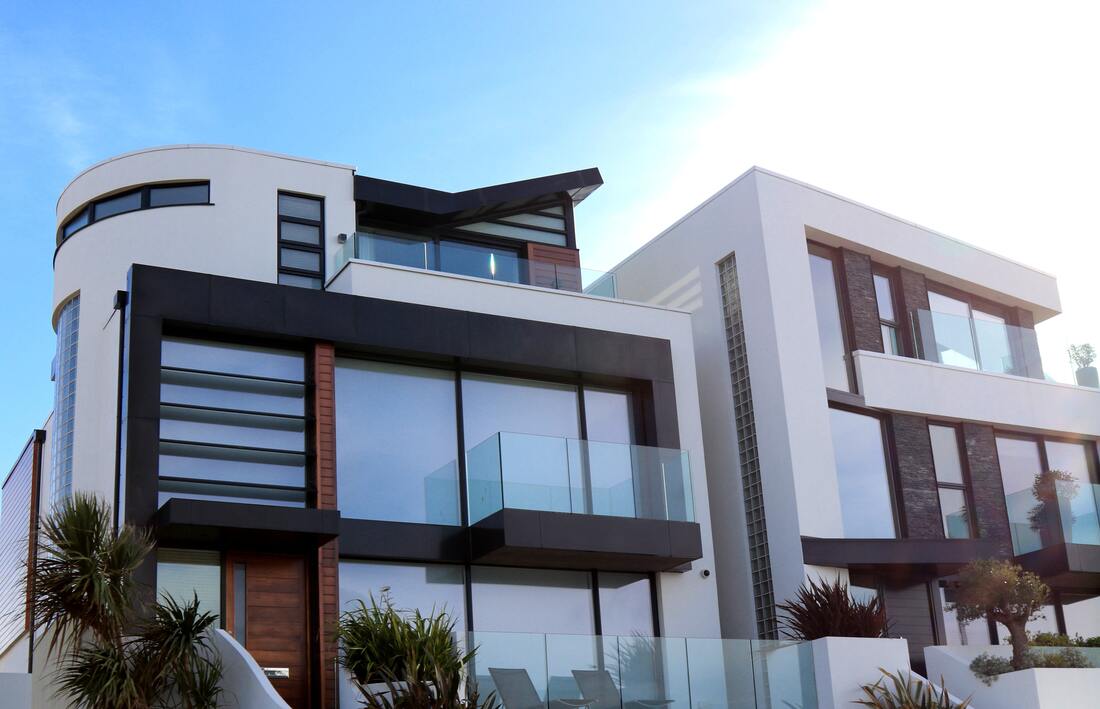
5. Attach metal lath
Selecting the correct lath and installing it properly is one of the more difficult parts of this project. Consulting a local contractor is recommended. In most cases, you should nail or staple the lath to the studs (not the sheathing) at no less than 7-inch (18 cm) intervals. Overlap the lath by at least ½ inch (1.25 cm) along the long side and 1 inch (2.5 cm) at the end, but not much more. Be sure to use only galvanized roofing nails or staples designed for use with stucco. Otherwise, your nails or staples will rust and pull loose. In all exterior stucco applications, you must use G-60 hot-dipped galvanized lath. 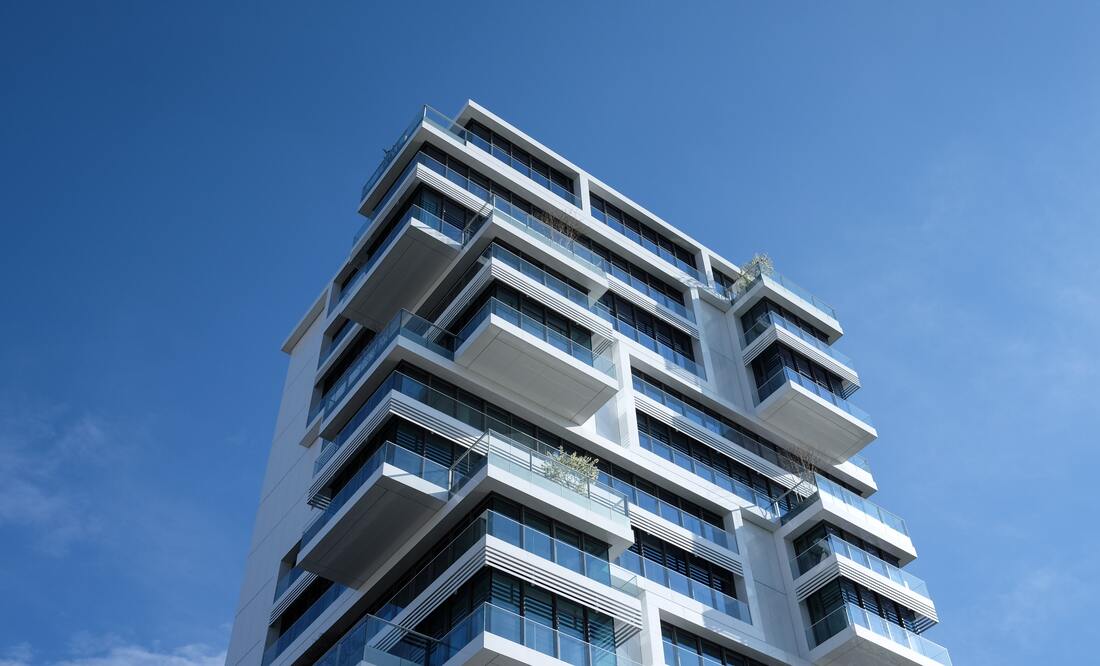
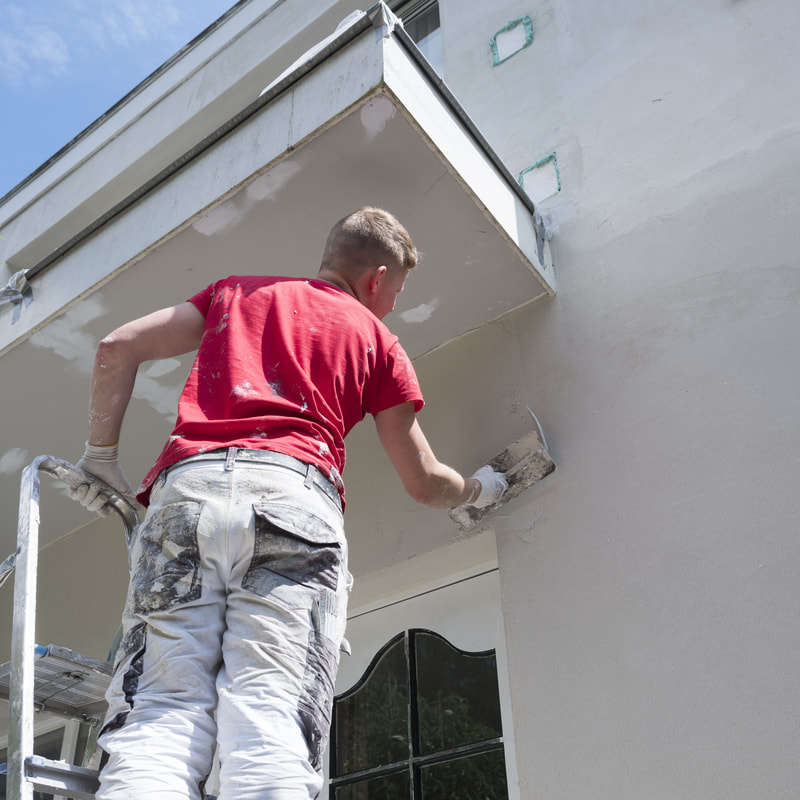
8. Trowel the scratch coat into the lath
Apply the scratch coat with a square trowel at a 45º angle, firmly pushing it into the lath. This layer should be ⅜ inch (9.5 mm) thick. The first scratch coat should be thick enough to cover your wire grid. You may find it easier to use a hawk for some portions of the application. 9. Score the scratch coat lightly The first coat is called the "scratch coat" because of the shallow, horizontal lines scored into it by a notched trowel. This will ensure a good bond with the next coat. 
12. Wet cure for at least 7 days. Wet cure as you did the scratch coat, but this time allow at least 7 days. The first 48 hours are the most important, but you should continue to mist or fog it for this whole period, whenever it looks like it's about to dry.
13. Cover with the finish coat. This final ⅛ inch (3 mm) layer determines the texture of your stucco wall. Apply and float it as you did the brown coat, but this time use 1 part cement to 1½ to 3 parts sand. You may purchase a finish which already contains pigment, or trowel on a plain finish and paint over it once it has had at least a week to cure. Colored stucco finishes work best in pastel shades. If the finish is colored, wetting the surface during floating may cause mottling. A fog coat may make the color more even. Many decorative textures are possible when applying this final layer. Judge the appearance from at least 30 feet (9m) back before settling on a look. |
Stucco has been a very popular choice for office buildings and houses throughout the world, because it can be used for conforming and adding a sense of curiosity and color. Mostly made from Portland cement plaster, sand and water, stucco can be applied to exterior surfaces of buildings. The material is fire-retardant, is requires little maintenance, and is very durable when professionally installed. It can even be mixed to create various finishes and textures.
If you are someone who is considering stucco for the interior or exterior of your home, applying the different styles and symptoms will help you when meeting the desired contractor. This will also help in deciding which visual finish is best for the aesthetic of your home. The 2 main types of Stucco are: SYNTHETIC & TRADITIONAL Unlike traditional stucco, synthetics does not use cement and lime. Rather, synthetics use acrylic resin that is resistant to water damage. Synthetic stucco dries evenly, quickly, and can be applied over foam board, rather then over mesh. The acrylic resin also adds movement to stucco, making it less prone to cracking and breaking. 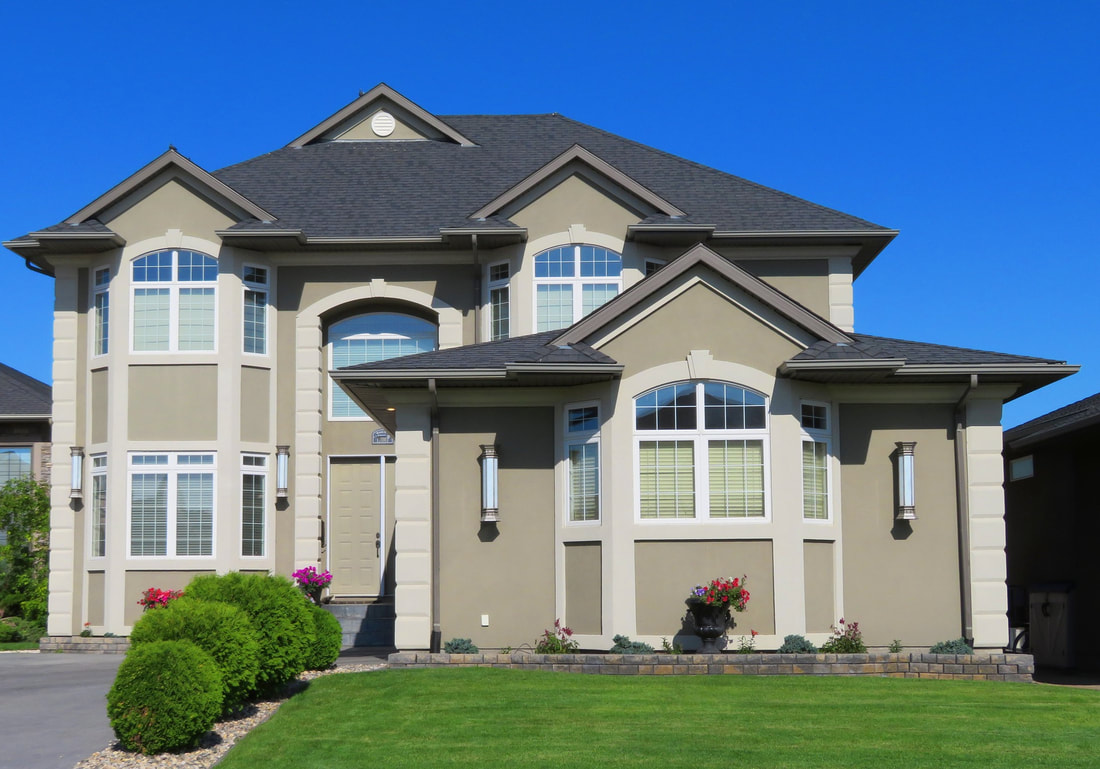
2. Put up sheathing materials. You can stucco over any rigid material attached to your support studs. The most common surfaces for stucco are plywood, exterior grade gypsum sheathing, oriented strand board (OSB), and cement board. Always follow building codes when applying sheathing materials. Although it is not recommended, It is possible to stucco over an open frame. But, this results in a less even and less structurally secure wall. If you plan to go this route, drive nails halfway into the studs, spaced out vertically in 5-6 inches while putting up string line wire horizontally along the protruding nails. 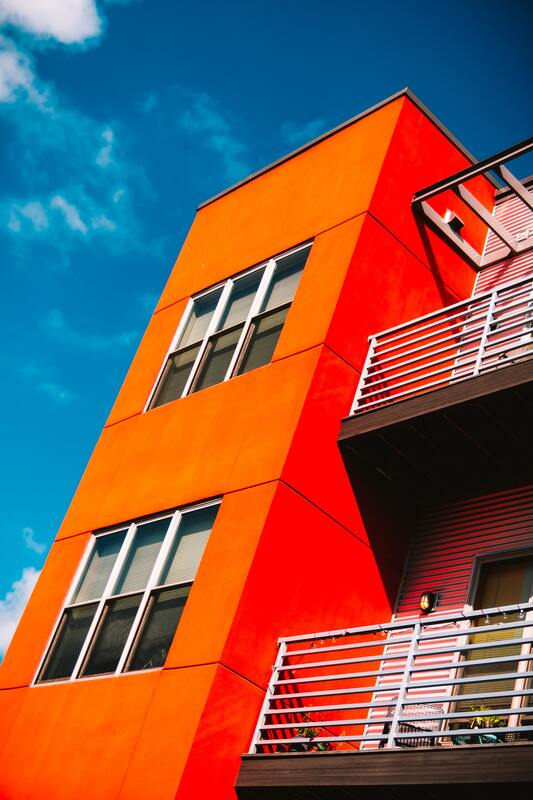
6. Install control joints.
To reduce cracking, divide the wall into rectangular panels using control joints, spacing them no more than 18 ft (5.5 m) apart. Also install control joints wherever 2 dissimilar walls meet If the lath is expanded metal (rather than stucco mesh), cut it behind each control joint to fully separate this rigid material into panels. Make the panels as close to square as possible, and no larger than 144 ft2 (13 m2). 7. Mix the scratch coat from 1 part cement material and 2¼ to 4 parts plaster sand. If you are using Type I Portland cement instead of plastic cement, you'll need to add your own hydrated lime; count the final cement and lime mixture as the "1 part cement." Mix with just enough potable water that you can trowel the stucco; any more, and it is likely to sag. Make sure to use cool water when mixing your stucco, especially if your hose has been sitting in the sun. If the water is hot or warm, it will cause your stucco to dry too quickly. The aggregate in the cement should be clean and well graded. 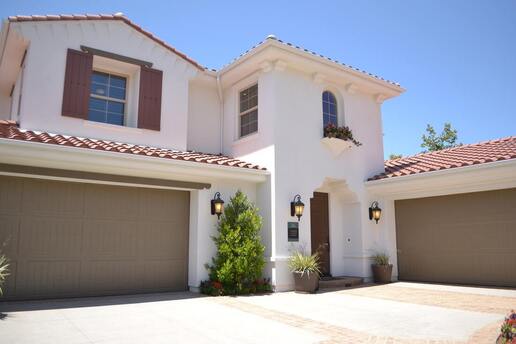
10. Wet cure the scratch coat. When stuccoing over stud construction, the thick scratch coat must be allowed to cure for 48 hours. During this time, it is critical to protect the stucco from drying out. Mist or fog the stucco twice daily unless the relative humidity is above 70%. Protect the wall with a windscreen or sunshade if necessary. You can also use a rotating lawn sprinkler to keep the stucco damp. Keep the sprinkler turned down to a low setting and pull it away from the house enough so that it keeps the surface damp without soaking it. 11. Mix and apply the brown coat. Mix another batch using 1 part cement and 3 to 5 parts sand. Apply another ⅜ inch (9.5 mm) layer of stucco and screed to an even thickness, for a total thickness so far of ¾ inch (19 mm). Once the brown coat loses its sheen, float it smooth. |
